
Ondago Cloud may appear as Secure Cloud in your installed app.
Connect once, then choose your saved ChatGPT connection for supported Codex cloud sessions. Your local Codex login stays separate. This guide covers Codex running inside Ondago Cloud.
Before you start#
- Sign in to Ondago and open the workspace where you want to run Codex. Complete any device registration or workspace-unlock prompts.
- Use a ChatGPT account with access to Codex. Your plan’s access and usage limits still apply.
- Cloud sessions must be available for your Ondago workspace. Ondago cloud compute is billed separately from your ChatGPT plan.
You do not need an OpenAI API key for the subscription connection. If you choose API key access instead, usage is billed through your OpenAI Platform account. See OpenAI’s authentication guide.
1. Enable device-code login in ChatGPT#
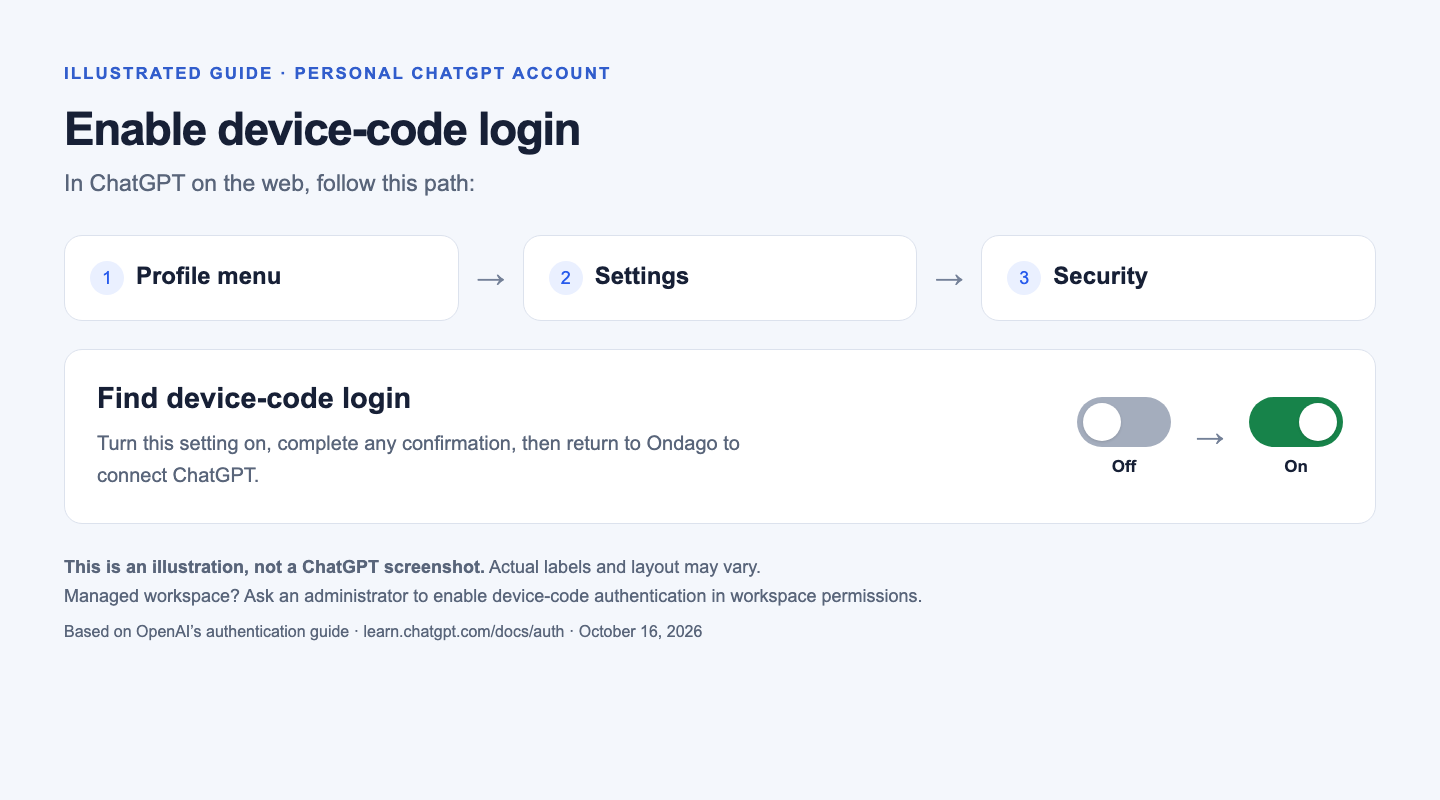
This lets you approve the sign-in for Codex running in Ondago’s cloud environment.
- Open ChatGPT in your browser and sign in to the account you want Codex to use.
- Open your profile menu, then choose Settings.
- Open Security. Find the setting for device-code login and turn it on.
- Complete any confirmation ChatGPT shows, then return to Ondago.
OpenAI confirms this setting under personal-account Security settings. Its wording and position can vary. In a managed ChatGPT workspace, ask an administrator to enable device-code authentication in workspace permissions. See OpenAI’s device-code instructions.
2. Start the connection in Ondago#
- In Ondago, open Settings → Agents.
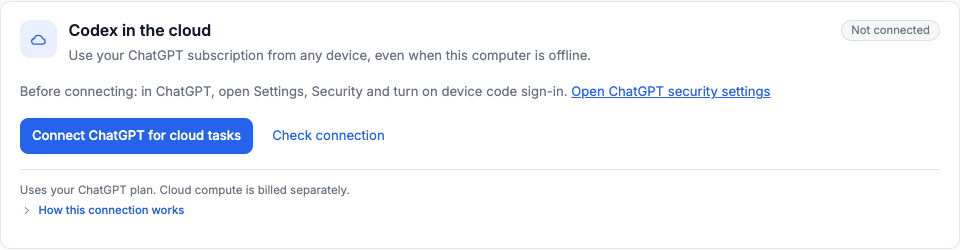
- On the Codex row, choose Connect (or Manage if Codex already has a connection). A sheet opens.
- If the sheet asks How do you want to pay?, choose ChatGPT plan. Under Where will it run?, choose In the cloud. Use the cloud choice even if Codex already shows as signed in on your computer.
- Select Connect ChatGPT. Ondago prepares a temporary cloud environment for sign-in.
- Keep the setup open while it prepares. This can take about a minute.
3. Approve the sign-in on OpenAI’s website#
View planned changes for 3. Approve the sign-in on OpenAI’s website. Availability depends on the released app and host versions.
4. Continue with your connected account#
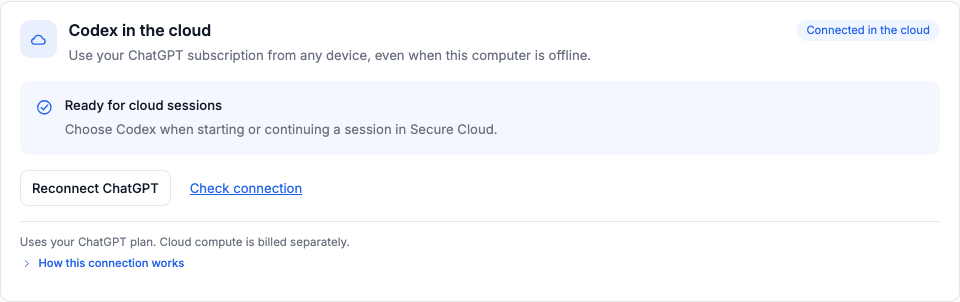
Wait for the session transfer to finish before turning off the original computer. See Continue in cloud for the rest of the transfer.
What is saved, and who can use it?#
The cloud connection belongs to your account in the selected Ondago workspace. Only you can select it for a new session. Members who can control a session you started can use your connected account through that session. Use the cloud security guide to understand access during execution.
Ondago saves the cloud login encrypted for reuse. Connecting here does not replace your computer’s Codex login. Your ChatGPT limits still apply, and cloud compute is a separate charge.
To remove a working connection, open How this connection works → Disconnect cloud. This removes the saved login from Ondago; it does not sign you out of local Codex or revoke access in ChatGPT. If a cloud task is using the connection, finish or stop that task first.
If the connection does not finish#
| What you see | What to do |
|---|---|
| Device-code login is disabled | Return to ChatGPT Settings → Security and enable device-code login. For a managed workspace, ask its administrator to check workspace permissions. Then retry the setup in Ondago. |
| The setting is missing | Check that you are using the intended ChatGPT account and workspace in the browser. Managed permissions can restrict this option. Follow OpenAI’s current authentication guide or ask your administrator. |
| The code expired or was rejected | Cancel the current sign-in in Ondago and start again to get a fresh code. Use the newest code, not the example shown in this guide. |
| ChatGPT approved, but Ondago is still waiting | Return to Ondago and select Check connection. Keep setup open until Connected in cloud appears. If it still fails, retry with a fresh code. |
| Finish connecting ChatGPT | An earlier setup did not save a usable login. Select Connect ChatGPT and complete the approval. A saved setup record does not mean you are connected. |
| Sign in again to continue | Select Reconnect ChatGPT and approve a new sign-in. Reconnecting refreshes the saved cloud login. |
| Clear saved setup | This removes an incomplete or failed setup so you can start again. It is different from Disconnect cloud, which removes a working saved connection. |
| Your computer is signed in, but cloud is not | Open Settings → Agents, choose Manage on the Codex row, and use the In the cloud choice. Local sign-in and the saved cloud connection are separate. |
| Cloud access is unavailable | Check Ondago workspace access, workspace key availability, and cloud availability. A ChatGPT subscription alone does not enable Ondago cloud compute. |
ChatGPT settings instructions checked against official OpenAI documentation on October 16, 2026.